
Last updated October 31, 2026
 Architectural shingles
 Metal roofing
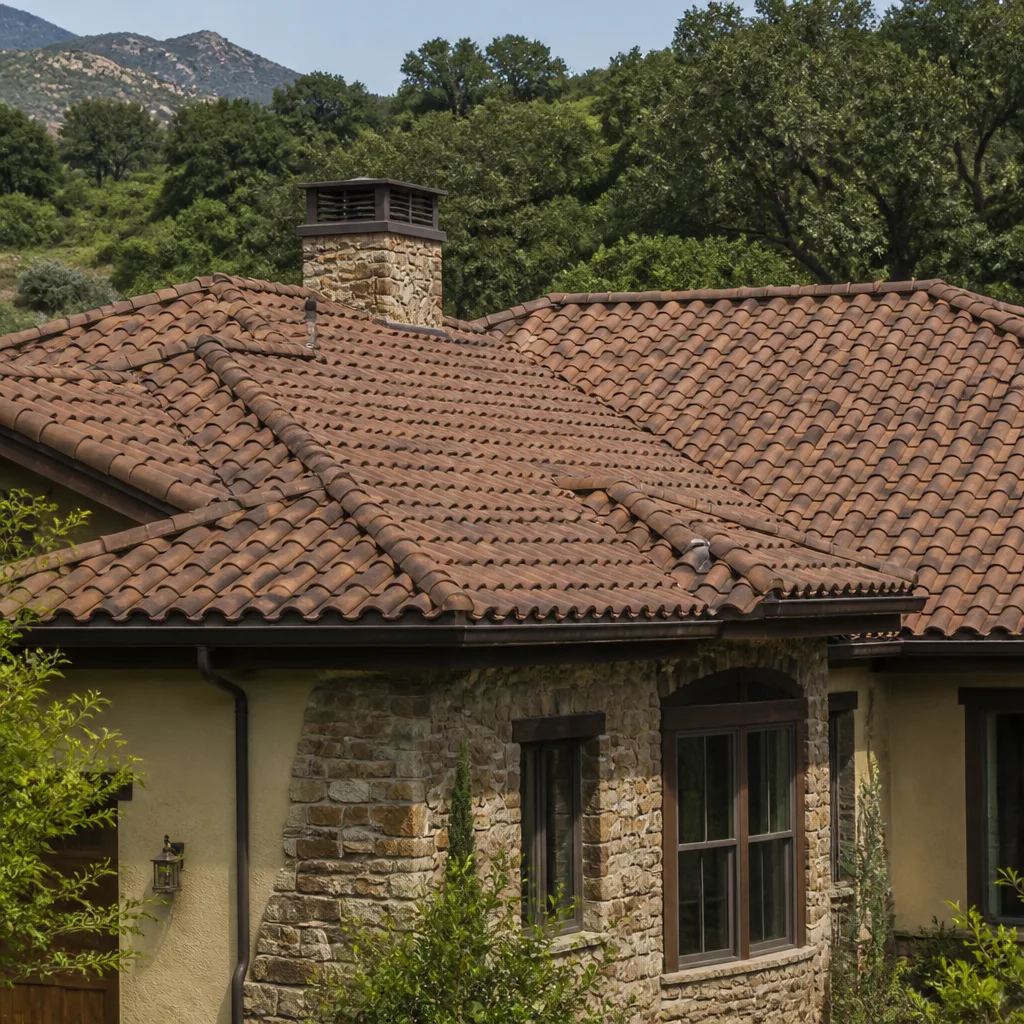 Tile roofing
 GAF
 Owens Corning
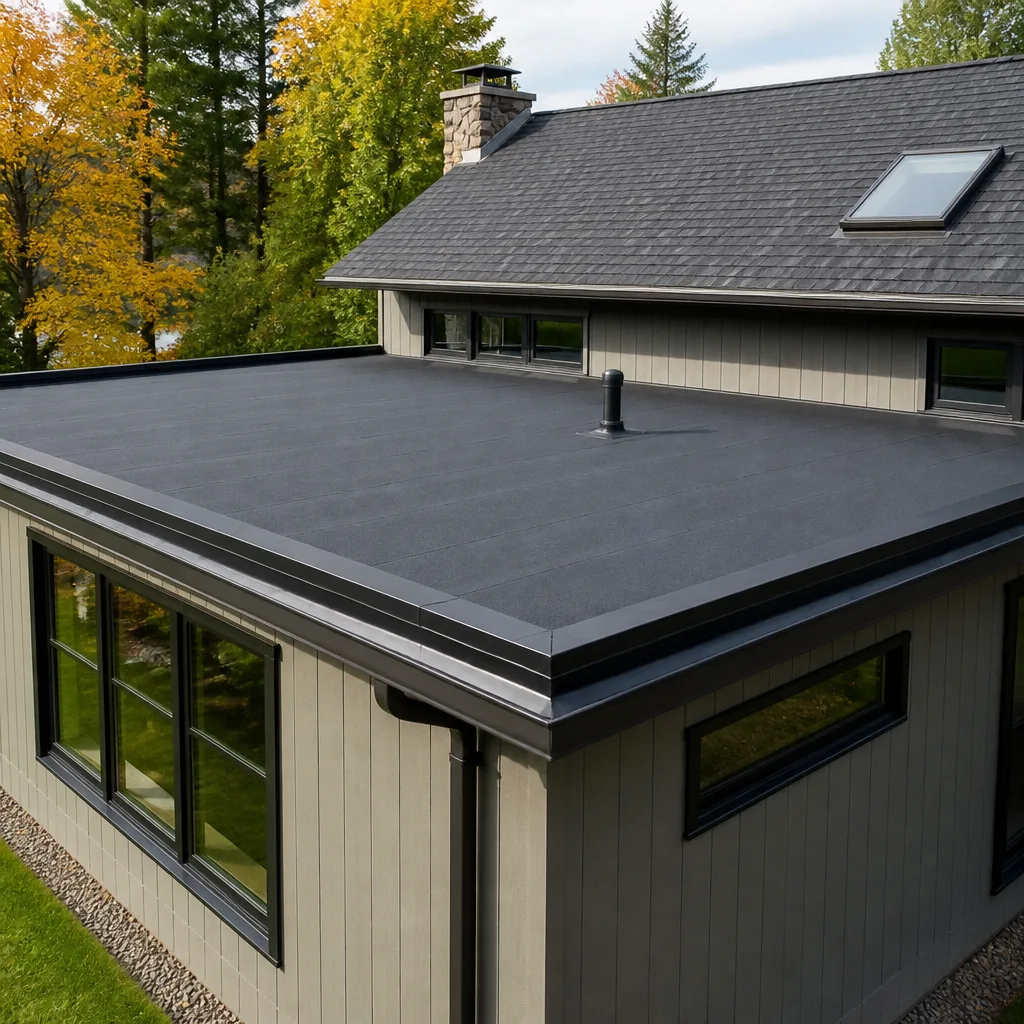 Flat & low-slope
Free roof inspection with deck photos before we talk money - GAF and Owens Corning certified installation
Roof Repair Troubleshooting: Common Problems and How to Fix Them
The ceiling stain in your hallway almost certainly did not come from the roof directly above it. Water travels along rafters, insulation batts, and HVAC ducts before it drops, which is why homeowners who patch the obvious spot and call it done are often back on the phone within two rainstorms. This guide walks through the diagnostic logic a working roofer uses in Victorville and beyond: trace the symptom back to its true source, confirm the failure point, then choose a repair that matches the actual problem. You’ll learn how to separate condensation from real leaks, why lifted shingles sometimes have nothing to do with wind, and when a granule-covered gutter signals normal aging versus something worse.
Styles & brands we work with
Quick Answer
Roof repair troubleshooting starts with one rule: the visible symptom rarely sits directly above the failure point. Water entering at a single torn shingle near the ridge can travel fifteen feet before it pools and stains a bedroom ceiling. The fix is to work backward from the interior stain, inspect the roof’s penetrations and valleys first, and confirm the diagnosis before opening up any surface. Most common roof problems, from lifted shingles to flashing failures, are repairable in a single visit when the source is correctly identified. The expensive mistakes happen when a contractor patches the symptom instead of the cause.
Table of Contents
- How to Trace a Ceiling Stain to Its Actual Entry Point
- The Five Most Misdiagnosed Roof Problems
- Shingle Lifted? How to Tell Wind Damage from Installation Failure
- Granule Loss: Normal Aging, UV Degradation, or Manufacturing Defect
- Flashing Failures: The Real Source of Most Roof Leaks
- Post-Storm Roof Inspection Checklist for Victorville Homes
- How a Pro Confirms the Repair Actually Held
- Common Mistakes to Avoid
- When to Call a Professional
- Frequently Asked Questions
- The Bottom Line
How to Trace a Ceiling Stain to Its Actual Entry Point
We’ve repaired hundreds of roofs in Victorville where the homeowner pointed to a hallway stain and the water was entering twenty feet away. High desert homes face a particular version of this problem: intense UV exposure breaks down roofing materials faster than coastal climates, but the damage often starts small and stays hidden until a winter downpour pushes water through. When you see a stain, the first move is not to climb up and start pulling shingles. It’s to map the water’s path from the inside out.
Here’s the method a roofing specialist uses, step by step.
- Mark the stain’s location from inside the attic. Get into the attic space with a flashlight and locate the wet insulation, water mark, or damp framing directly above the ceiling stain. Push aside insulation carefully. The entry point in the roof deck will be uphill from where the water pools, because water runs down the slope of the decking before it drips.
- Look for the highest point of moisture, not the wettest. Feel along the underside of the roof decking toward the peak. The highest damp spot is your directional clue. Water runs downslope along decking, rafters, and the tops of insulation batts.
- Map likely entry candidates above that point. Roof penetrations are the prime suspects: plumbing vents, HVAC boots, attic fans, skylights, chimneys. In Victorville, where many homes have evaporative coolers mounted on the roof, the cooler platform and its penetrations are a consistent leak source. Valleys, where two roof planes meet, are the second prime suspect, especially if the stain appears after heavy rain rather than light rain.
- Test with controlled water. A two-person water test, one on the roof with a hose and one in the attic with a flashlight, is the most reliable way to confirm the entry point. Start low, near the eaves, and work upward slowly. Wait several minutes at each level. Victorville homes with low-slope sections need extra patience: water migrates slowly through built-up roofing before it shows up inside.
This tracing step is what separates a repair that fixes the problem from one that just moves the stain to a different ceiling. And it’s the same logic the team at Oakmont Roof Repair home applies on every call, whether it’s a simple shingle patch or a full Roof Replacement in Victorville.
The Five Most Misdiagnosed Roof Problems
Some roof problems get blamed on the wrong cause so often that the misdiagnosis becomes conventional wisdom. Homeowners and even some contractors repeat the same wrong assumptions. Here are the five we correct most often in Victorville.
1. Condensation mistaken for a roof leak
In a high desert climate like Victorville’s, the temperature swing between day and night is dramatic. Winter nights drop below freezing; summer days climb past 100. When warm, moist interior air meets a cold roof deck in winter, it condenses on the underside of the decking and can drip onto insulation and ceilings. The homeowner sees a stain and calls a roofer. The roof is fine, the ventilation is not. The fix is often improving attic airflow, adding intake or exhaust venting, not replacing shingles.
2. HVAC penetration failure blamed on shingles
Air conditioning condensate lines, evaporative cooler platforms, and bathroom fan vents all punch through the roof. When the rubber boot or metal flashing around these penetrations rots, cracks, or pulls away from the pipe, water enters. Homeowners see water near the center of the ceiling and assume the shingles failed above it. We’ve opened up roofs in Victorville where the shingles were in near-perfect condition and the entire leak traced to a cracked HVAC boot that costs a fraction of a full re-roof to replace.
3. Gutter overflow read as a flashing problem
When water pours over the gutter during a heavy storm, it runs down the fascia and can enter at the roof’s edge, wetting ceilings near exterior walls. The homeowner sees staining near the wall and suspects faulty drip edge or step flashing. Often the gutters are simply clogged with debris, or they were undersized for the roof’s surface area. Cleaning them and confirming proper slope solves the problem without touching the roof itself.
4. Skylight leaks blamed on the glass
Skylights rarely leak through the glass unit itself. The leak is usually at the flashing kit, where the skylight curb meets the roof deck. The curb can develop hairline cracks over time, especially under Victorville’s UV load, and the sealant degrades. Replacing the flashing kit solves most skylight leaks. Replacing the entire skylight solves very few, unless the glass is physically cracked.
5. A leaking roof valley blamed on worn shingles
Roof valleys channel a huge volume of water. When the valley metal or valley shingles fail, water enters there, but the interior stain often appears far downhill from the valley line. The homeowner sees the stain, walks up a ladder, sees shingles near the eaves, and assumes that’s the failure. The valley above may show only subtle wear. This is exactly the misdiagnosis that turns a targeted valley repair into an unnecessary partial re-roof. A professional Roof Inspection in Victorville checks valleys first because they carry more water per square foot than any other part of the roof.
Shingle Lifted? How to Tell Wind Damage from Installation Failure
A lifted shingle looks the same whether a storm grabbed it or an installer nailed it wrong. But the cause changes both the repair method and whether an insurance claim makes sense. Here’s how to tell them apart.
Wind damage signatures: Wind damage typically shows a pattern. Multiple shingles lifted in the same area, often on the windward side of the roof or near the edges and corners, where uplift pressure is highest. The shingle tabs will have a crease line near the nail zone where they folded back and forth before tearing. The sealant strip will show signs of separation, and you may find torn shingle pieces scattered in the yard or gutter. Wind damage tends to be sudden and storm-correlated.
Installation failure signatures: Installation problems are usually isolated and position-specific. A shingle that was nailed too high, above the nail line, will have a weak point and can lift even in moderate wind. A shingle whose sealant strip never bonded, often because it was installed in cold weather or walked on before the adhesive set, will lift on its own without any storm at all. Look for a lack of crease lines and a clean, unruptured sealant strip. If several shingles are lifting in a staggered pattern across the roof, that points to a systemic nailing problem, not a weather event.
In Victorville, wind events are a real factor. The high desert gets strong seasonal winds, and homes on the north and west sides of the valley see more uplift pressure than sheltered lots. When a customer calls after a windy night, we ask when the roof was installed and by whom. A roof less than five years old with lifted shingles is more likely an installation defect than a wind claim, and the repair approach is different: a single correctly-nailed replacement versus a whole-slope inspection. Brands like GAF and CertainTeed have specific nailing requirements, and a roofer who understands those specs, rather than one who installs every brand the same way, is the difference between a roof that stays sealed and one that lifts again next wind season.
Granule Loss: Normal Aging, UV Degradation, or Manufacturing Defect
Granules are the shingle’s UV shield, and they shed over time. That’s expected. The question is whether the rate of loss is normal for the shingle’s age or a sign of early failure. Victorville’s elevation and cloudless summers mean the UV load here is higher than in coastal Southern California, so granule loss happens faster. Knowing that helps you calibrate what’s normal for your roof.
Normal aging pattern: Granule loss appears evenly across the roof, but slightly more on south- and west-facing slopes. You’ll see granules in the gutter after rain, and the shingle surface will look lighter in color than the day it was installed. This is the shingle slowly trading surface armor for time. Most architectural shingles, such as those from Tamko or Atlas, show this even wearing between years 8 and 15 depending on exposure. It is not, by itself, a reason to replace a roof.
Accelerated UV degradation: Loss is concentrated on sun-exposed slopes, often with visible bald patches where the asphalt substrate shows through. The shingles may feel brittle to the touch and crack when gently flexed. This is UV burnout, and it’s more common on older roofs in Victorville that lack adequate attic ventilation or were installed with organic mat shingles that have since been discontinued by most manufacturers. If bald patches cluster on the hottest slopes while shaded slopes look fine, you’re looking at UV degradation, not manufacturing failure.
Manufacturing defect: Loss appears on isolated shingles or in isolated batches across the roof, regardless of slope direction. You might see granule loss in a straight line across the roof, or concentrated on shingles from the same production lot. Defect-related loss often shows up early, within the first two to three years. If the roof is young and the loss is uneven in a pattern that ignores sun exposure, document it and contact the manufacturer. A roofing specialist who carries multiple brands can help identify whether the issue is covered under the manufacturer’s warranty, without pushing a specific product line.
When we inspect granule loss for customers, we’re looking at the pattern first and the amount second. A roofer who tells you to replace based on gutter granules alone is selling you a roof you may not need. The honest answer is often “monitor it annually,” and a standalone Roof Inspection in Victorville gives you that baseline.
Flashing Failures: The Real Source of Most Roof Leaks
Flashing is the unglamorous metal that wraps chimneys, walls, valleys, and roof penetrations. It fails more often than shingles and causes more leaks. Yet most homeowners have never heard of it, and the visible symptom is always the same: a wet ceiling. In our experience, flashing accounts for more leak calls in Victorville than shingle failure by a wide margin.
Common flashing failure points, and what happens at each:
- Chimney flashing: The metal base flashing and counterflashing around the chimney base. Over time the sealant at the joint degrades under UV exposure, and the counterflashing can separate from the mortar. Water enters at the corner and runs down along the chimney chase before it appears inside, often well away from the chimney itself.
- Step flashing at sidewalls: Where a roof plane meets a vertical wall, step flashing is layered under each shingle course and against the wall. If it was installed without enough overlap, or if the siding was replaced later and the flashing wasn’t re-integrated, water gets between the wall and the roof. The repair involves lifting shingles and re-layering flashing, not caulking the seam from the outside.
- Valley flashing: Open metal valleys handle the roof’s highest water flow. When the valley metal corrodes or separates at the seams, water undercuts the shingles adjacent to the valley. Some Victorville homes have closed-cut or woven valleys, which wear differently. Either way, valley problems are a top leak source and need a roofer who can read the valley type correctly before cutting anything open.
- Pipe boot flashing: The rubber boot around a plumbing vent pipe cracks and shrinks under UV. The crack is small and usually on the upper side of the boot, where rain hits. A ten-dollar boot replacement prevents a ceiling stain that costs hundreds to clean up.
Flashing repairs are delicate work. They involve lifting or removing surrounding materials, and the new flashing must be integrated with the existing layers, not just caulked on top. Done wrong, the repair leaks again within a year. Done right, it outlasts the remaining shingles. The same team that installs a Boral tile roof or a CertainTeed shingle roof can do the flashing surgery in between. The materials matter, but the technique matters more.
Post-Storm Roof Inspection Checklist for Victorville Homes
High desert storms hit differently than coastal storms. Wind drives the damage here more than rainfall, and the strongest gusts arrive in spring and fall. After a major wind event, the following checklist helps Victorville homeowners decide whether to call for a professional Roof Repair in Victorville or handle a simple fix themselves.
- Walk the perimeter and look at the ground. Shingle tabs, tile pieces, ridge cap fragments, and fascia metal in the yard are evidence of wind damage. Note where they are. The location tells you which roof slope took the lift.
- Check the roof edges and corners from the ground with binoculars. Uplift pressure concentrates at eaves, rakes, and corners. Look for shingles standing up or missing, exposed nail heads, and bent drip edge.
- Check around roof penetrations. Storm winds loosen pipes, vents, and the boots around them. A boot that’s shifted even an inch creates a gap that leaks.
- Check the ridge line. Ridge cap shingles are the roof’s highest point and take the most direct wind. Missing or cracked ridge caps are a common post-storm finding, and they leak quickly.
- Look for debris sitting on the roof. Branches or windblown debris can scratch shingles and create weak points. If a branch is resting on the roof, gently remove it from a ladder. Do not walk the roof to do this if the slope is steep.
- Inspect the attic during the next rain. After the storm has passed and the rain stops, go into the attic with a flashlight and look for any new moisture or staining on the decking. Mark the spots with chalk and check on them again in a few days.
If any of these checks turn up something, get it assessed. The damage may look minor from the ground and be significant up close. And if you are not comfortable on a ladder, skip the roof walk entirely. A professional inspection is safer and, in Victorville, typically available within a few days of a storm.
How a Pro Confirms the Repair Actually Held
Plenty of roof repairs fail not because the diagnosis was wrong but because the post-repair check never happened. A roofer patches a spot, collects the check, and drives off. The patch fails in the next storm because nobody verified the surrounding area. Here’s what a careful professional does after the repair is complete, and what homeowners should ask for.
Water test, not just a visual check. After sealing a leak source, the roofer runs water over the repaired area with a hose, starting uphill from the repair and letting it flow for several minutes. The person in the attic watches the underside of the decking. No water, no stain growth, no new drips. This catches problems a visual inspection misses.
Nail pattern verification. If shingles were replaced, the roofer confirms the new nails land in the nailing zone and that no nails are exposed or overdriven. Overdriven nails, which break the shingle surface, are the most common post-repair leak cause.
Sealant and flashing integration check. New flashing must be layered under the existing materials, not caulked over. The roofer confirms the step flashing interlocks with each shingle course and that the sealant is applied at the correct joints, not smeared across the whole area.
Interior stain monitoring. The roofer returns, or instructs the homeowner to monitor, the original interior stain after the next rain. If the stain remains dry and no new rings appear, the entry point is sealed. If new wetness appears, the repair may have addressed one entry point while another remains. This iterative confirmation is part of what a full-lifecycle roofing company does: the same technician who inspected the roof can repair it and then confirm the repair held, without handing the job to another crew.
This is the advantage of working with a roofing specialist rather than a general contractor. The inspection, the repair, and the verification are all the same trade, the same crew, and the same standard. The Oakmont Roof Repair home process treats a repair as verified only when the water test passes and the homeowner confirms the stain has stopped growing.
Common Mistakes to Avoid
- Caulking over flashing instead of replacing it. Exterior caulk is a temporary bandage on a flashing problem. In Victorville’s UV intensity, it degrades within a season or two. Replace the flashing properly and the repair lasts.
- Patching shingles without checking the underlayment. If the torn shingle let water reach the underlayment and the underlayment is compromised, the new shingle will leak through the same spot. The area beneath must be inspected before re-covering.
- Assuming one leak means one entry point. A roof with one visible interior stain often has two or three small entry points feeding the same drainage path. Sealing one leaves the others active. The inspection has to map every candidate, not just the nearest one.
- Replacing a roof over a ventilation problem. If condensation caused the interior staining, a new roof won’t fix it. The airflow issue will persist, and the new shingles will degrade faster than they should. Diagnose before you rip.
- Skipping the post-repair water test. No water test means no confirmation. The homeowner becomes the tester during the next storm, and if the repair fails, the damage compounds. Insist on the test before you accept the repair as complete.
- Choosing a contractor based on the lowest bid without checking roof-specific experience. Roofing is a trade with specialized knowledge: flashing integration, brand-specific installation specs, and local high desert weather patterns. A general contractor may be excellent at kitchens and mediocre on a roof. The bid is not the only variable that matters.
When to Call a Professional
Some roof repairs are safe and sensible to tackle on your own, like replacing a single shingle with clear access or cleaning debris from a roof valley while standing on a ladder. Others are not. If the repair involves any roof penetration, any flashing integration, any valley work, or any area you cannot reach from a ladder without leaning, call a pro. Walking on steep roofs to reach a problem area is how injuries happen. High-desert Victorville roofs with brittle, sun-damaged shingles are particularly unforgiving underfoot.
Also call a professional when the diagnosis is unclear. If you cannot trace the leak with confidence, a roofer with the right diagnostic tools and experience will do it faster and safer than you can. Oakmont Roof Repair offers free estimates in Victorville, call (866) 942-0875. We’ll inspect, explain what we find, and give you a written repair scope before any work starts.
Frequently Asked Questions
A typical roof repair in Victorville falls between $300 and $1,500, depending on whether you’re dealing with a simple shingle replacement, a pipe boot, or a flashing rebuild. Small isolated leaks at penetrations usually stay under $600. Valley or flashing repairs that involve lifting multiple layers run higher. The only way to know for certain is an on-roof inspection. Call (866) 942-0875 and we’ll give you a free estimate based on what we actually find, not a guess from a phone call.
No, a roof leak is generally fixed from the exterior side of the roof. Attic-side patches and sealants are temporary measures at best, because water need only pool behind the patch to find a new path down. The roofing material itself must be repaired or replaced on the exterior to stop the entry point. Some exceptions exist for condensation problems where the issue is ventilation, not the roof surface.
Get into the attic with a flashlight and look for moisture on the underside of the decking, wet insulation, or water marks on rafters. Trace the highest point of moisture and project it upslope to likely entry points: penetrations, valleys, or flashing junctions. If the attic is inaccessible, a professional water test with one person on the roof and one inside is the standard method. The entry point is almost always uphill from the visible wetness.
Yes. The combination of intense UV exposure, high daytime temperatures, and wide overnight temperature swings stresses roofing materials more than milder climates. Asphalt shingles in Victorville tend to show granule loss and brittleness earlier than the same product in a coastal city. This doesn’t mean every roof needs premature replacement. It means regular inspections matter more here, and a Roof Inspection in Victorville every couple of years catches small problems before they become large ones.
Insurance generally covers sudden, accidental wind damage, not gradual wear or installation defects. If wind tore shingles off and left a clear storm-correlated pattern, your policy likely responds. If shingles lifted due to age or a nailing defect, the claim may be denied. Document everything with photos immediately after the storm, and have a roofer assess the pattern before filing. The distinction between wind damage and installation failure, which we covered above, often determines the claim outcome.
Most targeted repairs, such as shingle replacement, pipe boot replacement, or minor flashing work, are completed in a single visit of two to four hours. Larger flashing rebuilds or valley repairs can take a full day. The post-repair water test adds a short step, but it’s the difference between a verified fix and a guess. Ask any contractor you consider: “How will you confirm the repair held before you leave?” If they don’t answer with a water test, call someone else.
The Bottom Line
Troubleshooting a roof problem correctly comes down to one principle: the visible symptom is a trailhead, not the destination. Trace the stain back, check penetrations and valleys before shingles, and verify the repair with a water test and a dry-interior confirmation. Whether a roof is patched or replaced depends on pattern, not urgency. A homeowner who understands the difference between condensation and leakage, wind damage and installation failure, normal granule loss and UV burnout will make a better decision and spend less money. When the problem exceeds a safe ladder reach or the diagnosis stays murky, call (866) 942-0875 for a free estimate from a Victorville roofing specialist who will tell you the truth about what your roof actually needs.
Written by the team at Oakmont Roof Repair, serving Victorville since 2013.
See the difference
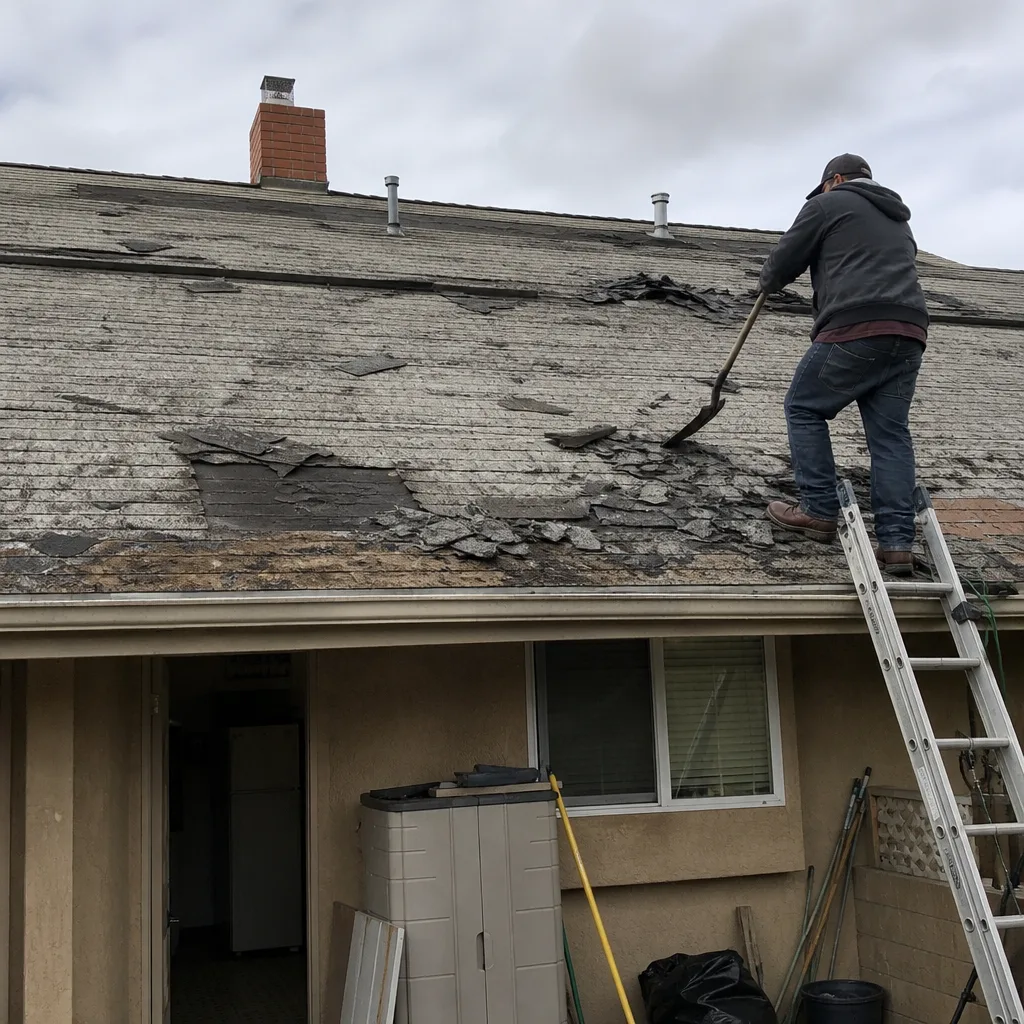 Before
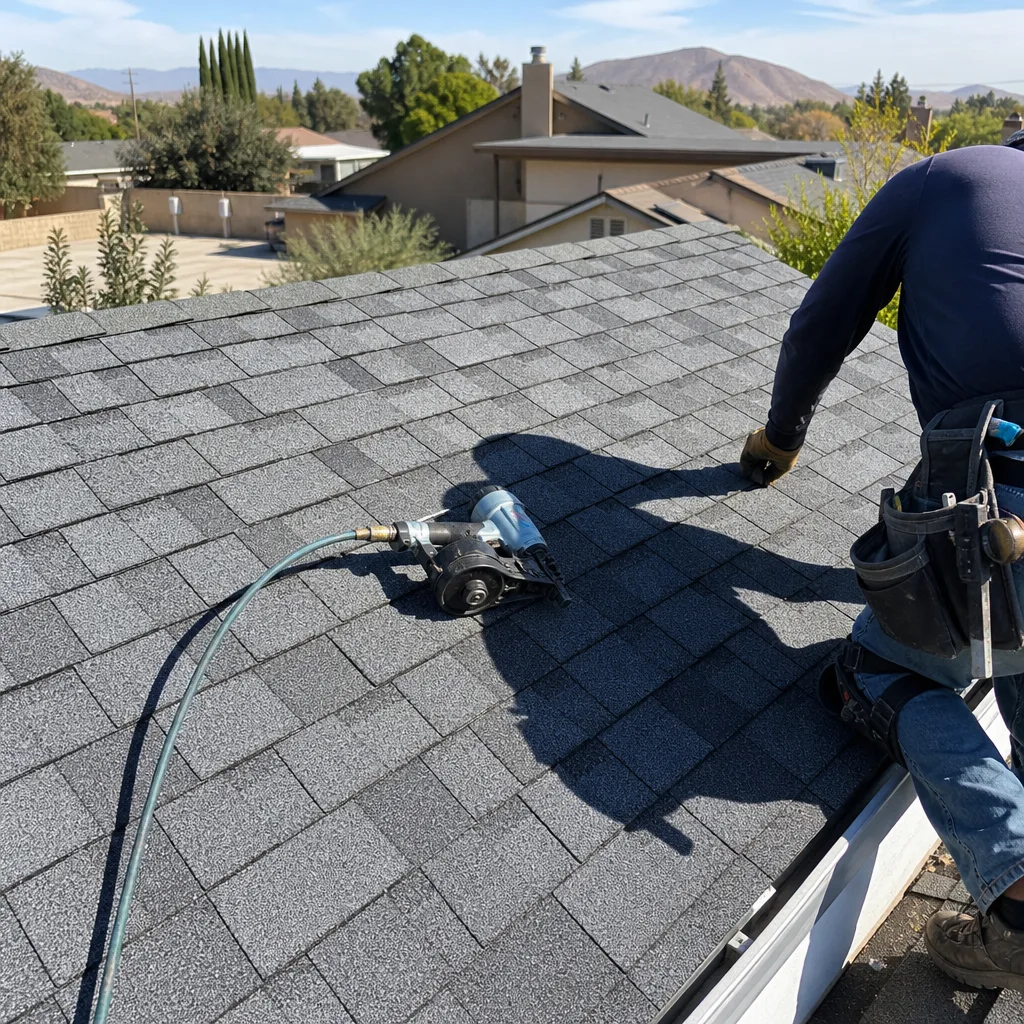 After
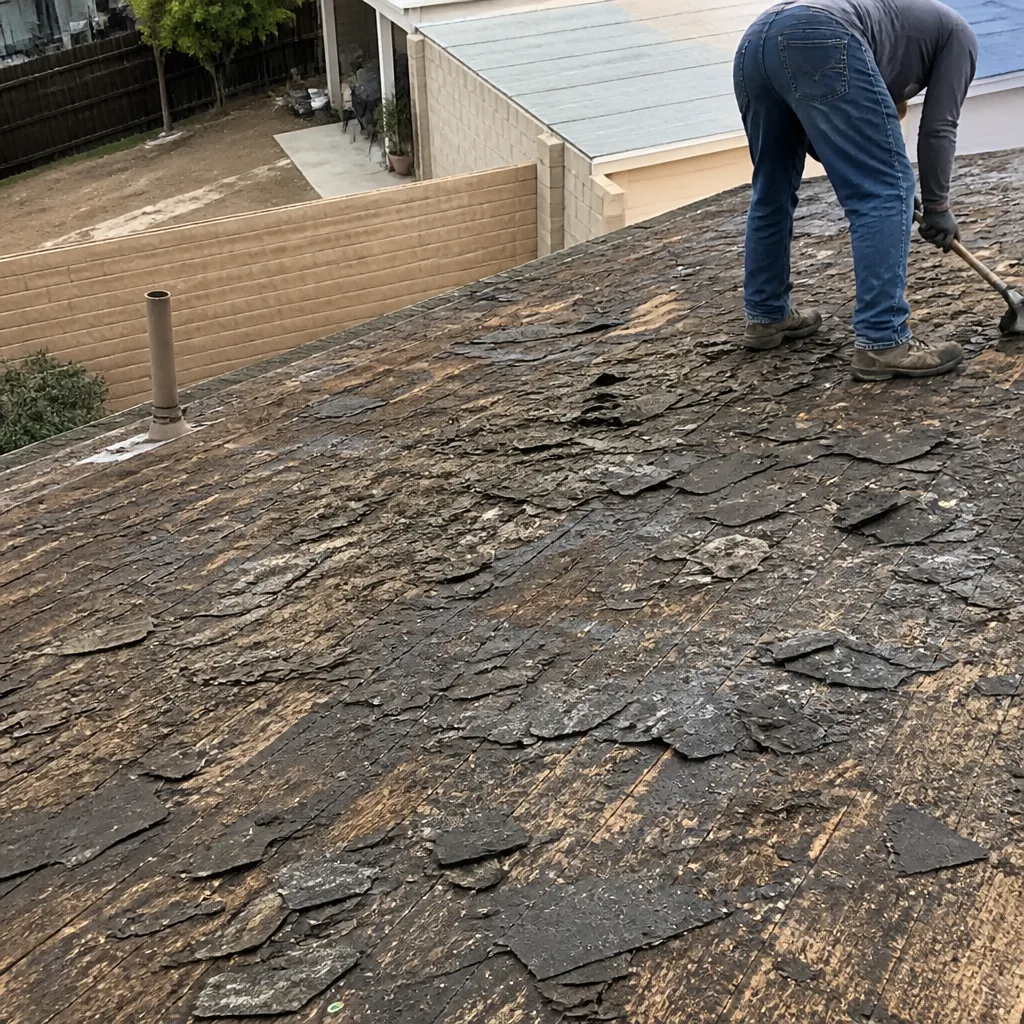 Before
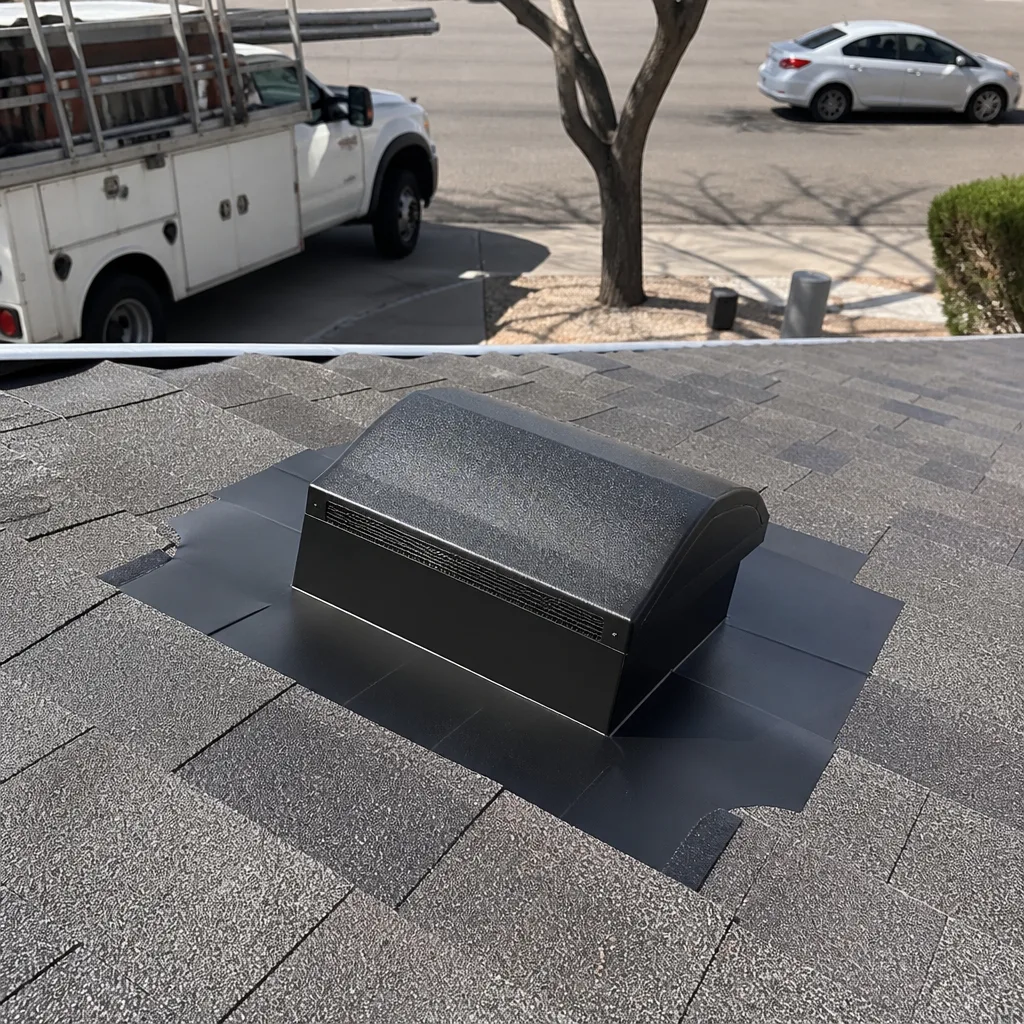 After
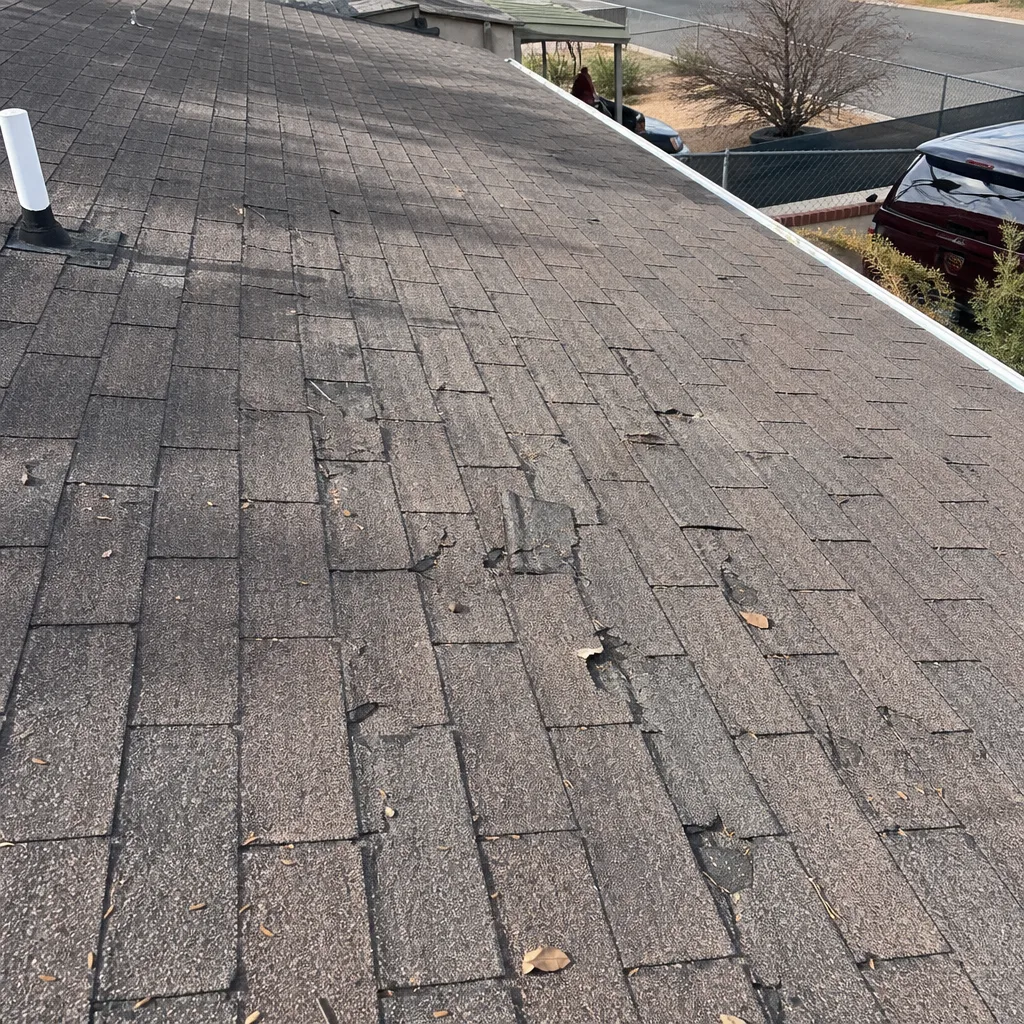 Before
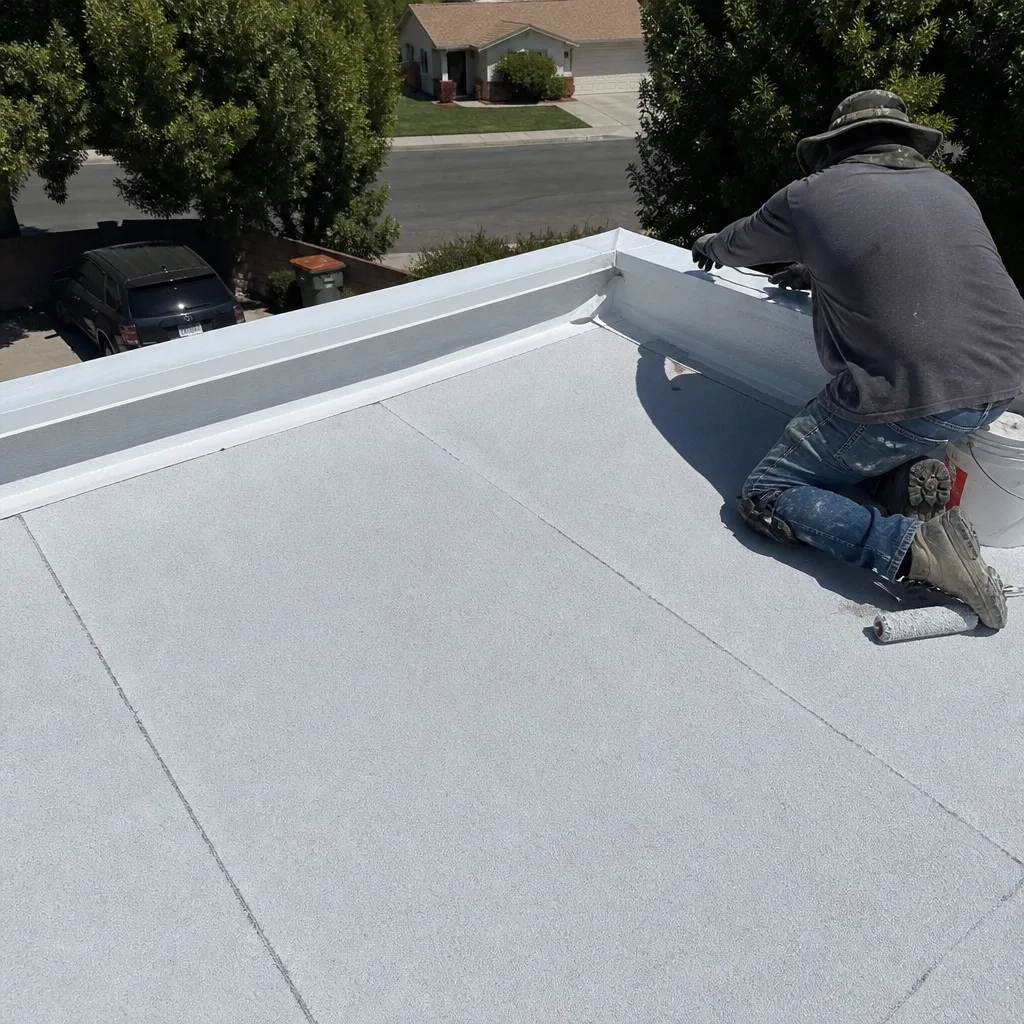 After